Device Label Management
Labels are a simple but powerful way to visually organize your device fleet. By tagging devices with color-coded labels, you can instantly identify groups of devices — for example, devices flagged for repair, high-priority VIP units, or devices assigned to a specific warehouse or department — without relying solely on policy names or serial numbers.
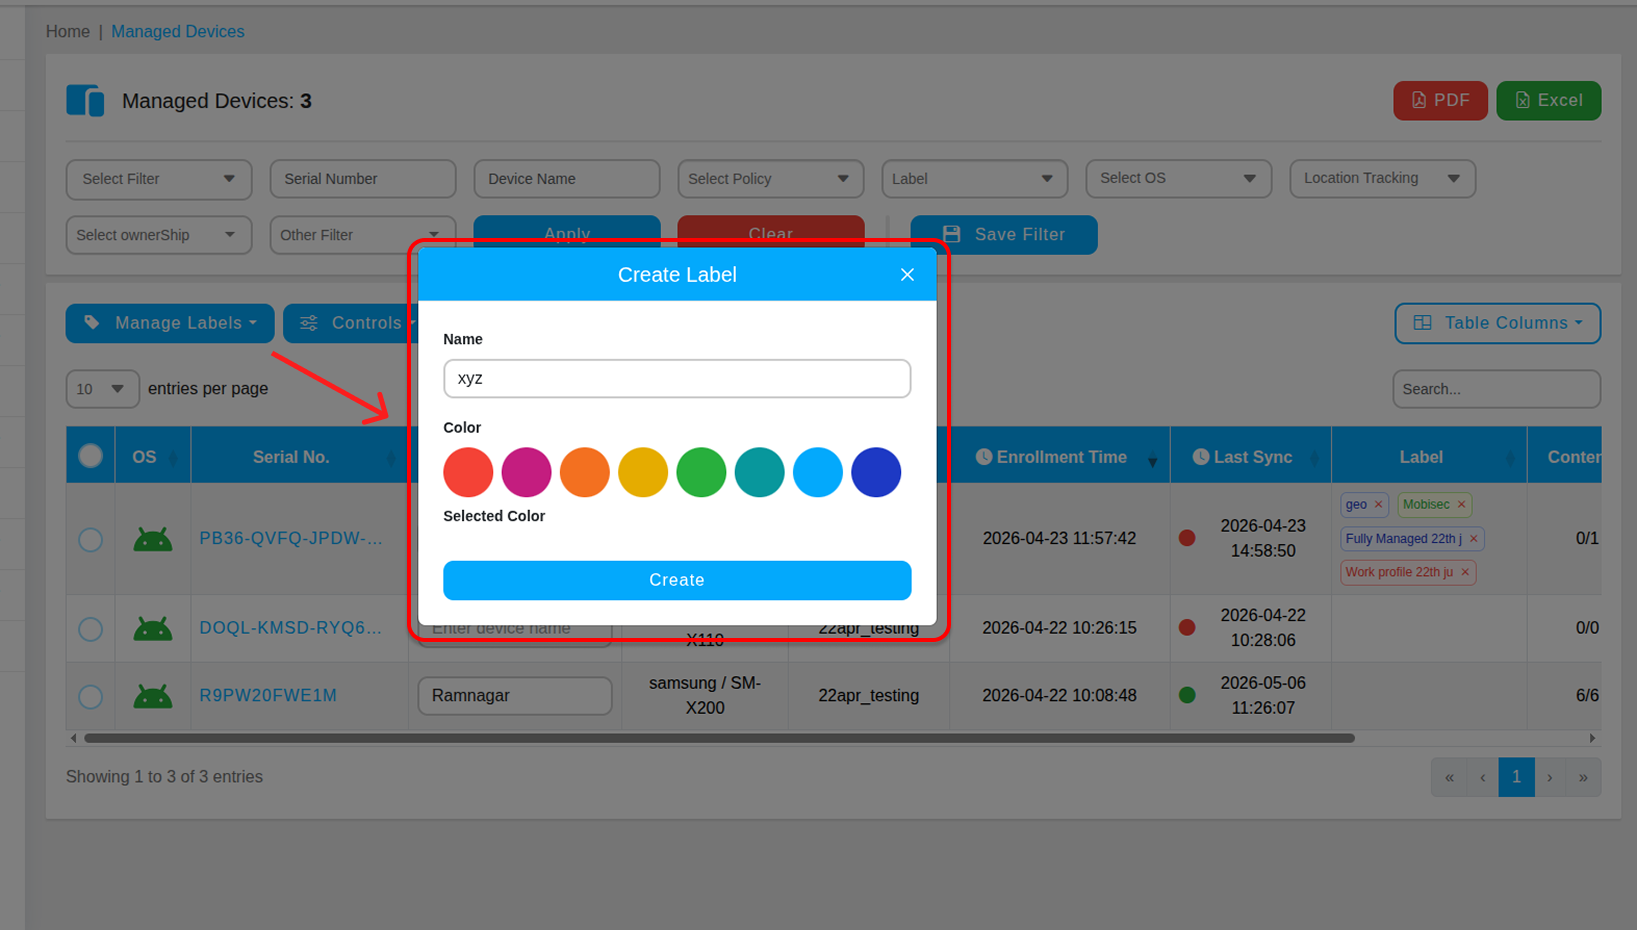
Step 1 — Create a Label
Go to Managed Devices in the left sidebar. Click the Manage Labels button and select Create Label from the dropdown.
In the label creation form:
- Name — Enter a clear, descriptive name for the label. For example: VIP, Repair, Warehouse, On-Leave, or Lost.
- Color — Select a color from the palette to visually distinguish this label from others in the table.
Click Save to create the label. It will now be available to assign to any device in your fleet.
Step 2 — Assign a Label to Devices
Select one or more devices from the Managed Devices table using the checkboxes on the left. Click the Manage Labels button and choose the label you want to apply. The label will immediately appear next to the selected devices in the table.
Using Labels Effectively
- Repair — Tag devices that have been sent for physical repair so the fleet table reflects their status.
- VIP — Mark executive or high-priority devices that require special attention or policies.
- Warehouse — Group devices assigned to a specific physical location or storage area.
- On-Leave — Flag devices belonging to employees who are on extended leave.
- Lost — Immediately tag a device reported as missing while you investigate its location.